Key takeaways
- The soundbar's HDMI OUT (TV ARC) cable belongs in the TV port explicitly marked ARC or eARC, never in one of the plain HDMI input ports meant for a source device.
- The TV's audio output format has to be set to Bitstream or Passthrough after the cable is connected; the correct port alone does not select the right format automatically on every TV.
- The soundbar's own display or app during real Atmos content is the only reliable proof the connection worked, not the TV's settings menu claiming Atmos is active.
- A soundbar that gets sound from some apps but not others after a correct connection usually points to a per app audio setting, not a wiring fault.
- Power cycling the TV and soundbar together clears more handshake failures than any cable replacement, and costs nothing to try first.
Your new soundbar has arrived, four HDMI ports are lined up along the back of the television, and none of them are labelled clearly enough to read from across the room without a torch. One of the two HDMI cables in the box is marked for this job. The port it goes into matters more than anything else in the setup.
Plug it into the wrong port and the picture will likely still work, if you are also running a source through the same cable, and the bar will probably still make some sound. What it will not do is receive the TV’s own audio properly, which is the entire reason to own a soundbar in the first place.
This walkthrough covers finding the correct port, wiring it up, confirming the connection actually works, and what to try when a seemingly correct setup still produces nothing.
Before you touch a cable
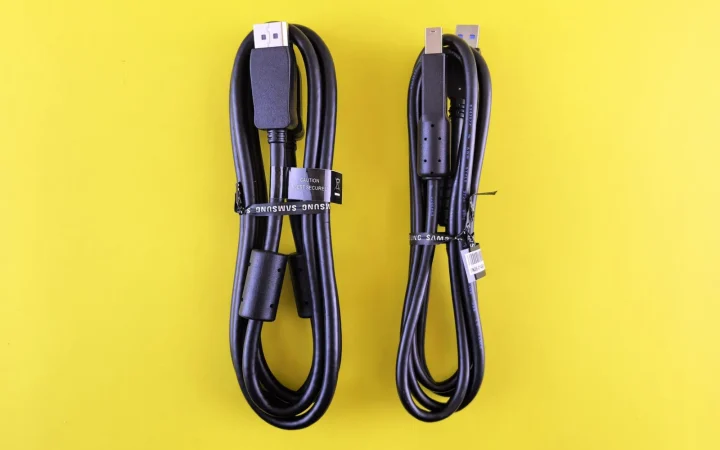
Find the soundbar’s HDMI cable marked for TV connection, usually the one plugged into a port on the bar itself labelled HDMI OUT (TV ARC). Most bars, including the Samsung HW-Q990D and Sonos Arc Ultra, include this cable in the box, so a separate purchase is rarely needed unless the run is longer than about 2 metres.
Have the TV’s model number ready, either from the settings menu or the sticker on the back, since some manuals only list which port supports ARC or eARC by model rather than printing it clearly on the case. Five spare minutes after connecting, to test before tidying the cables away, saves a second trip behind the television later.
A small torch or a phone’s own light helps more than it should. Port labelling is frequently printed in dark grey on a black case, angled to face downward, and next to impossible to read without direct light even with good eyesight.
Finding the port actually marked ARC or eARC
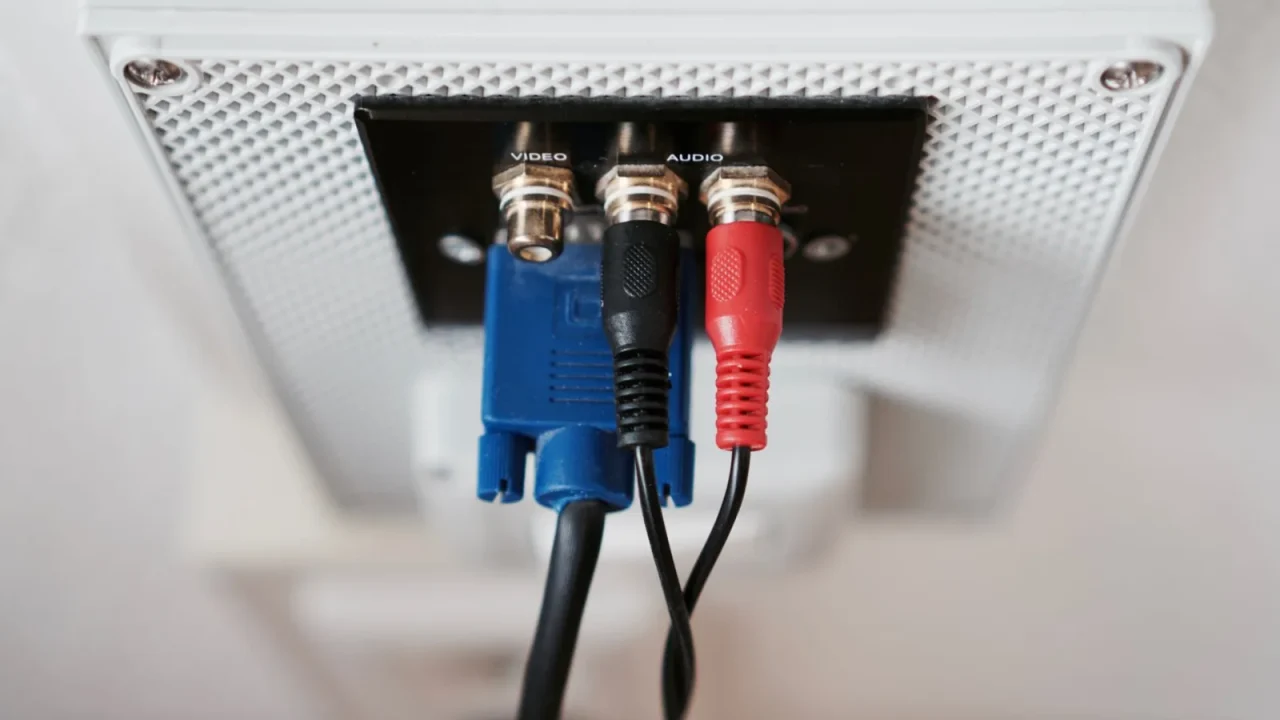
Most TVs print ARC or eARC directly next to one HDMI input, commonly HDMI 2 or HDMI 3 rather than HDMI 1, though this varies by brand and model year. Look closely along the port row itself before assuming the labelling is missing entirely.
When nothing is printed on the case, the TV’s own settings menu usually confirms it. On most sets this sits under a path close to Settings, then Sound, then Sound Output, or occasionally under Expert or Advanced sound settings, where one HDMI input will be listed as the ARC or eARC connection specifically.
Some televisions from around 2015 to 2018 label a port ARC that never actually supports eARC, regardless of what the soundbar’s box promises. Confirm the TV’s own specification sheet lists eARC by name if that bandwidth matters to you.
The fuller background on why this one port matters more than any other decision in the setup, including the bandwidth difference the HDMI Forum’s own specification defines between the two standards, is covered in HDMI eARC explained from the connection up.
Connecting the cable and setting the TV’s audio output
Plug the soundbar’s HDMI OUT (TV ARC) cable into the port confirmed in the previous step, then power on both the TV and the soundbar. Many TVs detect the soundbar automatically and prompt to switch the audio output, though not all of them do this without being asked.
Open the TV’s sound settings and set the digital audio output format to Bitstream, sometimes labelled Passthrough, rather than PCM. This is the step most guides skip, and it is the one that actually determines whether Atmos metadata survives the trip to the soundbar. The full walkthrough by TV brand is in bitstream versus PCM, which to choose.
Some TVs also have a separate eARC enable toggle, distinct from the format setting, buried under a general or expert settings menu. If the soundbar’s port is confirmed correct and sound still is not arriving, check for that toggle specifically before assuming the hardware itself is at fault.
A Denon AVR-X1800H or similar receiver adds one more step to this stage: selecting the correct input on the receiver itself so it is actually listening to the TV’s eARC feed rather than a different source already selected from the night before. It is an easy step to forget once the cabling itself is done.
Proof the soundbar is decoding Atmos, not just making noise
The TV’s own settings menu will often claim Atmos is active even when the soundbar never actually receives it. The soundbar’s front display or companion app is the only place that reliably shows the format it is decoding in real time.
Play a title known to carry Atmos, a demo reel or a recent film on a supported streaming app, and check the bar’s display. An LG S95TR or Klipsch Flexus will show Dolby Atmos explicitly on its own screen or app. Dolby Digital, DTS, or PCM Stereo showing instead means a step above still needs attention.
A subtler test worth doing afterward: watch a scene with a clear overhead effect, rain, a helicopter passing, an aircraft, and listen for whether the sound genuinely seems to move above the seating position. A correct Atmos connection sounds obviously different from a well mixed stereo track played loud, not just marginally wider.
- Cable connected to the port explicitly marked ARC or eARC
- TV audio output set to Bitstream or Passthrough, not PCM
- eARC toggle enabled separately, if the TV has one
- Soundbar’s own display checked during real Atmos content, not assumed from a TV menu
When the right port still produces nothing
Power cycle both devices together first: switch off the soundbar and the TV, unplug both from the wall for about thirty seconds, then reconnect and power on the TV before the soundbar. This clears more handshake failures than any other single step, and it costs nothing to try.
If sound arrives from some apps but not others, the fault is usually a per app audio setting on the TV rather than the HDMI connection itself. Some smart TV apps default to their own internal audio processing regardless of the system wide output setting, which needs correcting inside that specific app.
A firmware update on either device, applied months after the original setup, is another common cause of a connection that worked fine for a year and then quietly stopped. Checking for an available update on both the TV and the soundbar is worth doing before assuming a fault has appeared out of nowhere, since a routine update is a far more common cause than a failing port.
If nothing above resolves it, the fault may sit deeper than the port choice, in the handshake between the two devices rather than the cable or setting. Clearing an HDMI handshake problem covers the remaining fixes once the basics here are confirmed correct. Connecting a games console through the same soundbar brings its own separate port considerations, particularly around passing through high frame rate video alongside the audio, covered in connecting a game console through a soundbar.
None of this requires an engineer. It requires reading the one label on the back of the TV that most people skip past on the way to plugging in the nearest available port, and a genuine five minutes spent confirming the format on the soundbar’s own display before calling the job finished.
Questions readers ask about this
This is unusual but does happen on some larger TVs with multiple HDMI 2.1 inputs. Check the settings menu rather than the case printing, since typically only one of the two is actually wired for audio return even if both are labelled the same way on the exterior.
Yes. Most bars have one port specifically labelled HDMI OUT (TV ARC) for this connection, separate from any HDMI IN ports meant for a games console or streaming device plugged directly into the bar. Using the wrong port on the bar's own side breaks the connection just as reliably as the wrong TV port does.
That model is designed to be the last device in the chain rather than connect directly to the TV's ARC port. Check its manual for whether it expects an optical connection to the TV instead, since some budget and mid range bars are built around that arrangement specifically.
Generally avoid it for the ARC or eARC connection itself. Most switches and splitters are built for one directional video signal and do not reliably pass the audio return channel, which can break Atmos entirely even though the picture still looks fine on screen.
The console's own audio output setting usually needs checking separately, since it is a different signal path than the TV's built in apps. Most consoles have their own Bitstream, Passthrough, or PCM choice in their system audio settings that has to match the same logic as the TV.

About the author
Rahul Gupta
Rahul Gupta has spent nearly a decade quietly wiring living rooms, testing soundbars in every awkward apartment layout imaginable, and untangling the kind of HDMI handshake problems that make people give up on Atmos altogether. He writes here about what actually works when you get the boxes home—not what the spec sheet promises. If a piece of gear on this site earns a recommendation, it earned it in a real room with real furniture, not a lab.