Key takeaways
- Keep the soundbar's tweeters within about 10 cm of the TV screen's bottom edge so dialogue appears to come from the picture, not from a shelf below it.
- A subwoofer pushed into the nearest corner gains 3 to 6 dB of extra bass around 40 to 80 Hz, and usually more boom than the room can actually handle.
- Up-firing height drivers need a flat, hard ceiling roughly 2.4 to 3 m up; a raked or acoustic tile ceiling absorbs the bounce before it reaches the seat.
- Glass cabinet doors and thick speaker cloth both cut high frequency energy, which is why dialogue goes soft even when the volume number has not changed.
- Physical placement has to be right before distance settings or a calibration microphone can do anything useful.
Most soundbar problems get blamed on the soundbar. Over eleven years of installs I have found that at least half the complaint calls trace back to where the thing was put, not what it is: a center channel firing straight into a closed cabinet door, a subwoofer wedged into a corner until every kick drum turns into one boomy thud, a pair of up-firing modules aimed at a sloped ceiling that swallows the reflection whole.
None of that shows up on a spec sheet. It shows up the first time you sit down to watch something and the dialogue is mush or the bass rattles the window. This guide covers the handful of physical decisions that actually determine how a soundbar system sounds, in roughly the order you meet them: shelf, seat, the path between them, the subwoofer, the ceiling, and finally the settings that lock the layout in.
Shelf, stand, or wall: where the bar itself sits
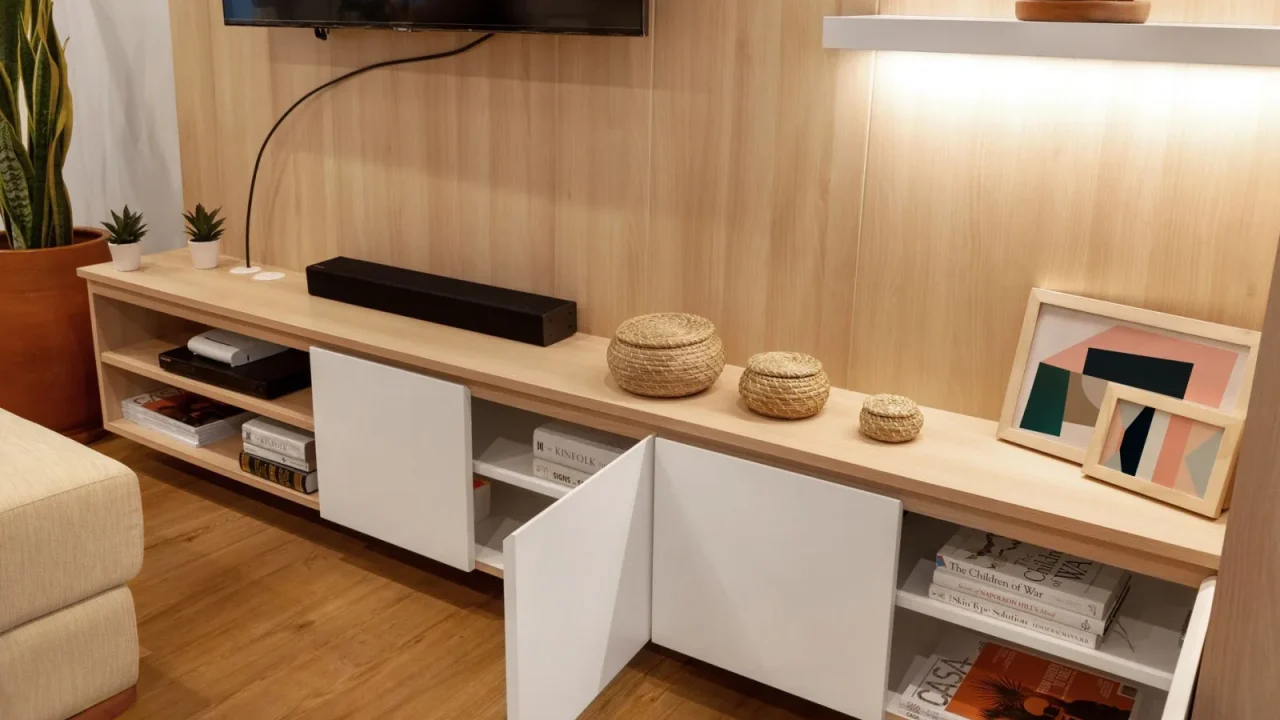
A soundbar’s center channel carries most of the dialogue, and it only images correctly when it sits close to screen height. Keep the tweeters within about 10 cm of the screen’s bottom edge, whether that means a shelf just under the panel or a wall bracket set to match. Drop the bar 30 cm lower than that and dialogue starts to sound like it is coming from the furniture, not the actors on screen.
How high the television itself is mounted shifts that whole reference point before the soundbar ever enters the picture, a factor covered on its own in how TV mounting height changes what you hear.
Measure the shelf before you buy. A Sonos Arc Ultra runs close to 114 cm wide, a Samsung HW-Q990D nearer 123 cm, and either one overhanging a narrow shelf by more than a few centimetres on each side looks wrong and risks tipping if a cat walks across it. Wall mount kits typically add $50 to $80 and solve the overhang problem outright, at the cost of a visible cable run unless you chase it through the wall.
One install still stands out. A client had a floating shelf sized for a 55 inch TV, then upgraded to a 65 inch set without checking whether the shelf still worked with it. The new stand needed 90 cm of depth at the front edge, which put the soundbar’s remote sensor directly behind the screen’s foot. Moving the bar forward by 12 cm on the same shelf solved it in under a minute.
Glass cabinet doors and thick decorative grilles both sit in the signal path if the bar goes inside an enclosed unit. Either can cut several dB out of the 2 to 8 kHz range that carries dialogue consonants, which is why voices go soft even though the volume number has not moved.
The seat matters as much as the bar
Placement is not only about the bar. Your main seat needs to sit roughly on the center line between the left and right channels, and far enough back that the whole soundstage arrives together instead of the nearest driver drowning out the rest. For most living rooms that puts the seat somewhere between 2.4 and 3.7 m from the screen, though a wide sectional sofa often lands one cushion well outside that line.
For reference distances, the Consumer Technology Association publishes viewing distance guidance by screen size that roughly doubles as a starting point for audio placement too. How much seat position actually costs you in real terms is covered properly in why your seat position changes everything, but the short version is that moving a sofa 30 to 60 cm can fix a boomy or thin bass response that no amount of menu tweaking will touch.
Clearing the path for the center channel
Anything sitting between the bar and the seat attenuates high frequencies before dialogue gets there. A glass cabinet door, a decorative cloth stretched too tight, or even a heavy curtain left half drawn in front of the unit all do this to some degree.
The fix is usually simple: open the doors, or move the bar on top of the cabinet instead of inside it. If the bar has to live behind glass for the sake of appearance, expect to raise the dialogue or center channel level by 1 to 2 dB in the settings menu to compensate, and treat that as a workaround rather than a fix.
The subwoofer is a separate decision
A subwoofer does not need to sit anywhere near the soundbar, and it usually sounds better when it is not simply pushed into the nearest corner. Corner placement can add 3 to 6 dB of extra output around 40 to 80 Hz, which looks like more bass on paper but often means one boomy note swallowing everything else in that range.
The full method, including the technique installers use to actually find the best spot in a given room, is in where to put a subwoofer in any room. For this guide, the short version: try a spot roughly a third of the way along a wall, never flush in a corner, and confirm it by ear before running a cable or trusting a wireless link to that spot.
A client with a 24 square metre living room had wedged an SVS SB-1000 Pro straight into the corner behind a recliner, and every explosion in an action film turned into one indistinct thump around 60 Hz. Moving the same subwoofer out along the wall, about a metre and a half from the corner, cut the boom noticeably and let individual bass notes through again, at the cost of roughly 2 dB of maximum output the corner had been giving away for free.
| Placement | Center image accuracy | Typical added cost | Best for |
|---|---|---|---|
| Shelf below screen | Good, if within 10 cm of the screen edge | $0 | Most TV stands and consoles |
| Wall mount bracket | Very good, height is fixed correctly | $50 to $80 | Wall mounted TVs with no usable shelf |
| Inside a closed cabinet | Poor, high frequencies attenuated | $0 | Only acceptable if the front stays open |
Up-firing drivers need a flat ceiling nearby
Soundbars with up-firing height drivers, the “.2” or “.4” in a layout like 5.1.2, work by bouncing sound off the ceiling directly above the listening position. That only works if the ceiling is flat, hard, and roughly 2.4 to 3 m overhead. A sloped, vaulted, or acoustic tile ceiling absorbs or scatters the reflection before it reaches the seat.
I have measured the same soundbar in two rooms: a flat plaster ceiling at 2.6 m produced a clearly audible overhead effect, while a raked ceiling starting at 2.4 m and rising past 4 m produced almost none. Dolby’s own documentation on Atmos assumes a reasonably flat, reflective ceiling for exactly this reason. If your ceiling does not qualify, in-ceiling height speakers aimed straight down are the more reliable option, and do up-firing Atmos speakers actually work covers that tradeoff in more depth.
Locking in the numbers: distance, level, and calibration
Once the bar, seat, subwoofer, and ceiling are physically right, the remaining work happens in menus rather than in the room. Setting speaker distances correctly tells the system how far each element sits from the seat, which controls the timing between channels.
Most receivers and higher end soundbars ship with one of a handful of measurement systems: Audyssey MultEQ, Yamaha YPAO, or a manufacturer’s own routine built into a setup app. They all do the same basic job of measuring the room from the seat and adjusting level and delay to match, though how well each one handles a genuinely difficult room varies more than the marketing admits.
A calibration microphone run, covered in room calibration microphones: do they work, catches smaller problems a tape measure cannot, such as a wall reflection nobody notices consciously. Run it after placement is settled, not as a substitute for getting the physical layout right first.
- Soundbar tweeters within 10 cm of the screen’s bottom edge
- Nothing solid blocking the direct path between the bar and the seat
- Subwoofer tested in at least two spots before committing to a cable run
- Ceiling above the seat flat and hard if using up-firing drivers
- Speaker distances entered and a calibration run completed
From here the deeper guides take over: distances and levels, calibration microphones, and the physics behind why your own seat matters as much as any of it. Get the physical layout right first. Everything downstream of that is comparatively easy to fix.
Questions readers ask about this
Keep the bar's tweeters within roughly 10 cm of the screen's bottom edge, whether it sits on a shelf below or is wall mounted just under the panel. Go much lower and dialogue starts to sound like it comes from the furniture rather than the actors. A bar mounted more than 20 cm below the screen also throws off an up-firing driver's angle to the ceiling.
Only if the front is open mesh or thin acoustic cloth. Glass doors, solid wood, or anything that closes fully cuts noticeably into the 2 to 8 kHz range that carries dialogue consonants, so voices go soft even at a normal volume. If the cabinet has to stay closed, the bar belongs on top of it instead.
No, and a tight corner is often the worst spot in the room. Corner loading adds real bass output, sometimes 3 to 6 dB around 40 to 80 Hz, but it also excites room modes that turn kick drums and explosions into a single boomy note. A spot roughly a third of the way along a wall, away from any corner, is a better starting point.
Not reliably. Up-firing drivers depend on bouncing sound off a flat, hard ceiling roughly 2.4 to 3 m overhead, and a sloped or vaulted section sends that reflection somewhere other than the seat. In a room like that, in-ceiling height speakers aimed straight down do a more consistent job than up-firing modules.
Good placement gets you most of the way there, but a calibration run still catches things a tape measure cannot, such as a wall reflection nobody hears directly. Run it after placement is settled, not instead of it. Placement and calibration solve different halves of the same problem.

About the author
Rahul Gupta
Rahul Gupta has spent nearly a decade quietly wiring living rooms, testing soundbars in every awkward apartment layout imaginable, and untangling the kind of HDMI handshake problems that make people give up on Atmos altogether. He writes here about what actually works when you get the boxes home—not what the spec sheet promises. If a piece of gear on this site earns a recommendation, it earned it in a real room with real furniture, not a lab.