Key takeaways
- Sound travels at roughly 343 m per second, so every 34 cm of measurement error costs about 1 millisecond of timing error at the seat.
- Distance has to be measured from each speaker's tweeter to the seated ear position, not to the nearest wall or the edge of the sofa cushion.
- Rounding every channel the same direction, always down for tidy numbers, can stack into 5 to 10 ms of skew across a whole system.
- A calibration microphone run afterward is a useful cross check: a 1 to 2 cm disagreement with your own numbers is normal, 30 cm or more is not.
- Correct distances cannot fix a seat that has drifted off the center line between the speakers; that is a separate problem with a separate fix.
The setup wizard asked for five numbers, one for each speaker, and you typed in reasonable sounding guesses because nobody wanted to get up and find a tape measure at ten at night. It plays fine. It is just not right, and the gap between fine and right is usually 15 to 40 milliseconds of timing error that no amount of volume adjustment will fix.
Distance settings tell the receiver or soundbar how long sound takes to travel from each speaker to your seat, so it can delay the closer ones and make everything arrive together. Getting this right takes about fifteen minutes with the right tool and costs nothing. Here is the process in order.
A tape measure, and how not to measure
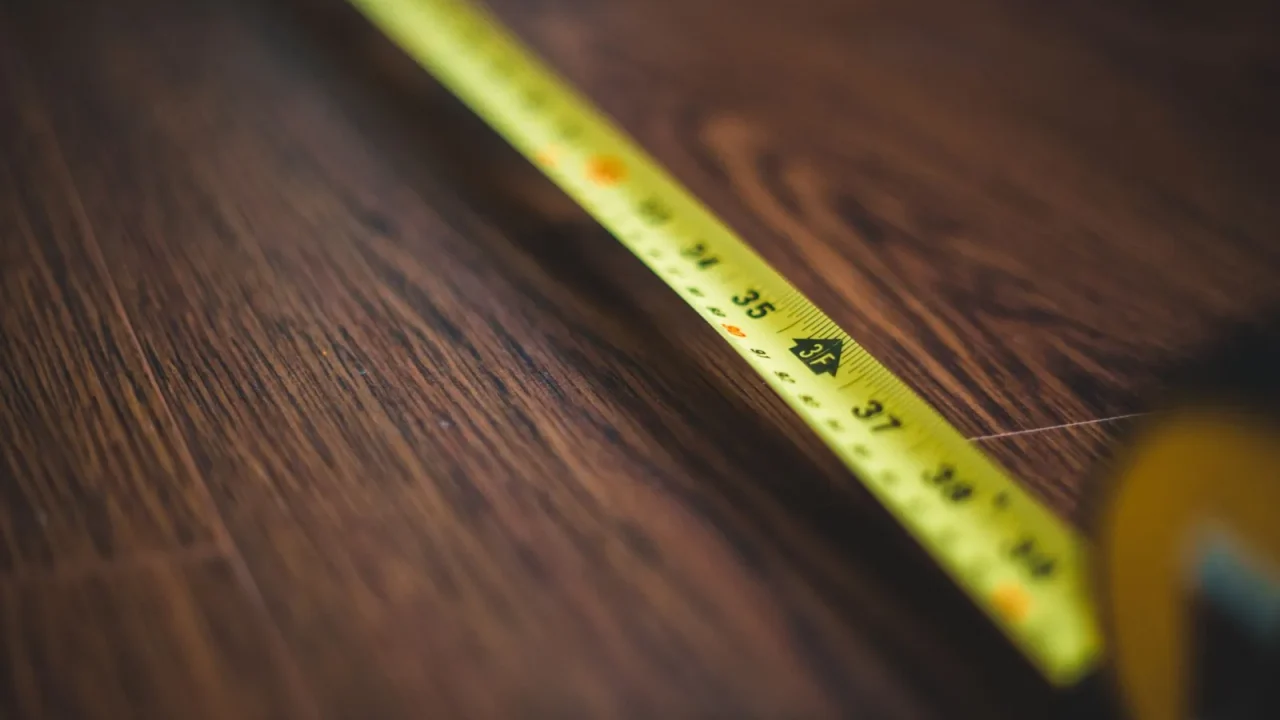
A regular tape measure works, though a laser distance tool, available for $20 to $30, is faster and more accurate over long or awkward paths. What you are measuring matters more than what you measure with: the distance from each speaker’s front baffle, specifically the tweeter, to the primary listening position, meaning your ears at the main seat, not the nearest wall or the edge of the couch cushion.
A common mistake is measuring to the back wall behind the seat instead of to the seat itself, which can throw distances off by 30 to 60 cm depending on how deep the sofa is. Sit in your actual seat, or have someone hold the tape at head height while you sit there, rather than measuring an empty room and hoping the numbers transfer.
Write each number down as you go, on paper or in your phone, rather than trying to hold six or seven measurements in your head while you walk to the menu screen. It sounds like an obvious step until you are three speakers in and cannot remember whether the surround left was 2.1 or 2.4 m.
Measuring from each speaker to the seat, not the wall
Work through each channel in turn: front left, front right, center, surround left, surround right, and if the system has them, rear surrounds and height channels. For a soundbar with a wireless subwoofer, the subwoofer generally gets its own distance entry too, and where to put a subwoofer in any room covers finding the physical spot before you measure it.
Height or up-firing channels are the odd one out. Most receivers want the straight-line distance to the speaker itself, not the distance sound actually travels after bouncing off the ceiling, so measure to the module’s physical location the same way you would a normal speaker. Round each measurement to the nearest whole centimetre or half foot; do not round to the nearest 30 cm just to save time.
Most receivers convert the distance you enter into a delay measured in milliseconds behind the scenes, using sound’s speed of roughly 343 m per second. You do not need to do that maths yourself, just enter accurate distances and let the receiver handle the conversion.
Entering the numbers into the receiver or soundbar
On an AV receiver such as a Denon AVR-X1800H, distances live in the speaker setup menu, usually listed in a straight column with the unit set to metres, centimetres, or feet depending on region. Most receivers accept a range from about 30 cm to 18 m per channel, which covers everything from a small bedroom to a genuinely large room. The Dolby Atmos object based mixing model relies on accurate speaker positions to place sound correctly, which is one more reason this step is worth doing properly. A typical living room setup, front left and right around 2.8 m from the seat and a center channel at 2.6 m, is close enough to equal that some owners never bother, but a room with the seat pushed against one wall can easily show a 1 to 1.5 m gap between the nearest and farthest speaker, which is exactly the situation distance settings exist to correct.
On a soundbar without a full setup menu, the same settings often hide inside the manufacturer’s app under a manual or advanced audio section, sometimes only visible after a calibration run has been skipped or overridden. If you cannot find a manual distance entry at all, the model likely relies entirely on its own calibration microphone instead, covered in room calibration microphones: do they work.
Rounding, and the small errors that add up
Sound travels at roughly 343 metres per second at normal room temperature, which works out to about 1 millisecond for every 34 cm. A single measurement rounded to the nearest 5 cm introduces roughly 0.15 ms of error, small enough to ignore on its own.
Round every channel the same direction, though, such as always rounding down to make the numbers tidier, and the errors can stack into 5 to 10 ms of skew across the whole system, enough to measurably blur where an effect seems to originate. I have measured this directly on a client’s 7.1.2 system: five channels each rounded down by around 8 cm looked harmless individually but added up to a noticeably vaguer front soundstage once combined.
The fix is simple. Measure and enter each channel independently, rounded to the nearest whole centimetre, rather than eyeballing numbers that look neat. It takes no extra time and removes an error that a calibration microphone will otherwise have to work around later.
Confirming the delay actually lines up
There is no perfect by-ear test for a few milliseconds of delay, but there is a decent one. Play a scene with a clear left to right pan, a car passing across the front soundstage works well, and listen for whether it moves smoothly or seems to jump between speakers. A smooth pan is a reasonable sign the distances are at least close.
The more reliable check is to run a calibration microphone after entering manual distances and see how far it disagrees with your numbers. A difference of 1 to 2 cm is normal measurement variance. A difference of 30 cm or more usually means one of the two measurements, yours or the microphone’s, was thrown off by something in the room, and it is worth re-measuring by hand to see which one was right.
I keep a printed copy of every client’s final distance numbers in their service file, precisely because rooms change: a new sofa, a rearranged media unit, or a rug swapped for hardwood can all shift the seat or the reflected sound enough that the old numbers stop being accurate. A five minute re-check after any furniture move costs nothing and avoids re-running a full calibration from scratch.
| Method | Accuracy | Typical cost | Speed |
|---|---|---|---|
| Tape measure | Good, if measured carefully | $5 to $10 | Slower with many channels |
| Laser distance tool | Very good | $20 to $40 | Fast, one person can do it alone |
| Calibration microphone estimate | Good to very good, varies by system | Usually included | Fast, occasionally off by 20 cm or more in odd shaped rooms |
When distances are right but the sound still smears
If distances are measured and entered correctly and dialogue or effects still feel smeared or vague, the fault is more likely somewhere else. Uneven channel levels cause a similar sounding problem for a different reason, covered in level matching your channels by ear, and are worth ruling out with an SPL meter or phone app, covered in using an SPL meter or phone app.
It is also worth checking whether the seat itself has drifted off the center line between the speakers, since no amount of correct distance data fixes a listening position that has moved a metre to one side of the room. Why your seat position changes everything covers how much room a system actually has to forgive an off-center seat before the image falls apart.
- Distance measured from each speaker’s tweeter to the seat, not the wall
- Every channel measured and entered, not estimated by eye
- Rounding kept to the nearest whole centimetre
- Units confirmed as metres, centimetres, or feet before entering numbers
- A calibration run checked against the manual numbers afterward
Questions readers ask about this
A tape measure is accurate enough for this job; a laser distance tool just makes it faster and easier for one person to manage alone, especially over long or awkward paths around furniture. Either tool works as long as you measure to the seated ear position rather than the nearest wall.
Measure to the tweeter, or the front baffle if the tweeter is not visibly separate, since that is the point the receiver's timing calculation actually assumes. On most soundbars and bookshelf speakers the difference is only a few centimetres, but on a floor standing tower it can be 20 cm or more.
Most receivers default every channel to an identical distance, often around 3 m, regardless of your actual room. Unless your speakers genuinely sit at equal distances from the seat, which is rare, this leaves every channel arriving at slightly the wrong time and blurs the placement of dialogue and effects.
No. Distance and delay settings affect timing, not power or level, so an incorrect number will not damage a speaker or subwoofer. The only cost is a less precise soundstage, dialogue that feels slightly detached from the screen, or effects that do not pan as smoothly as they should.
Only when something physically moves: a speaker gets nudged, the sofa gets repositioned, or you rearrange the room. Distances do not drift on their own, so a correct measurement stays correct indefinitely until the physical layout changes again.

About the author
Rahul Gupta
Rahul Gupta has spent nearly a decade quietly wiring living rooms, testing soundbars in every awkward apartment layout imaginable, and untangling the kind of HDMI handshake problems that make people give up on Atmos altogether. He writes here about what actually works when you get the boxes home—not what the spec sheet promises. If a piece of gear on this site earns a recommendation, it earned it in a real room with real furniture, not a lab.